From brainstorming to enjoying your new space, here’s what you can anticipate at each stage of your remodeling project.
Plan
Order
Construct
Install
Dwell
Phase 1
Planning Ahead
When it comes to having contractors working in your home, we all want it over with as quickly as possible. Here’s what you can do to best prepare for what’s coming your way.
Solidify your style.
From wooden to painted, metal to glass, there are a lot of options, but not to worry: this is the fun part.
Overscheduled inspectors can sometimes cause unexpected delays, so it’s good to stay on top of it.
Phase 2
Ordering Products
The contractors are there, you’ve canceled your zoom meetings, everything is set, but…no work can happen because you’re still waiting on parts. Avoid delays by ordering ahead.
Order appliances and this stuff first.
Flooring, hardware, countertops, sinks, and other complementary pieces should be ordered as early as your appliances.
Then, select your cabinets.
After you know the size of your new appliances or sinks or floor, choose the cabinets you want that fit around what you’ve already bought or have. A dealer can help.
Inspect everything before you install it to ensure any replacement parts you need arrive in time. That way, you can save yourself any avoidable frustration down the line.
Set up a temporary kitchen.
If the room you’re working on is a kitchen, you’ll need a backup spot for the duration of the project. Get water, possibly a hot plate, and definitely a friend on standby.
Time to pack.
Get excited! Your new dream room is almost here. All that’s left to do at this phase is pack.
Phase 3
Beginning Construction
This may be the hardest part but it’s also the best part. You’ve planned what you wanted and ordered all the things you need. Now, it’s time to kick off the build.
Estimate: 1 week
Demolition time.
This is when any existing cabinets or old appliances come out to make room for the new.
Estimate: 2-4 weeks
Structural changes.
Walls come down. Windows go in. And, rough-in plumbing, mechanical, and electrical changes happen next.
Estimate: 1-2 weeks
Pre-cabinet preparation.
This is when any pre-installation needs, like drywalling and painting, take place, so your cabinets move into a primed canvas.
Phase 4
Installing Cabinets
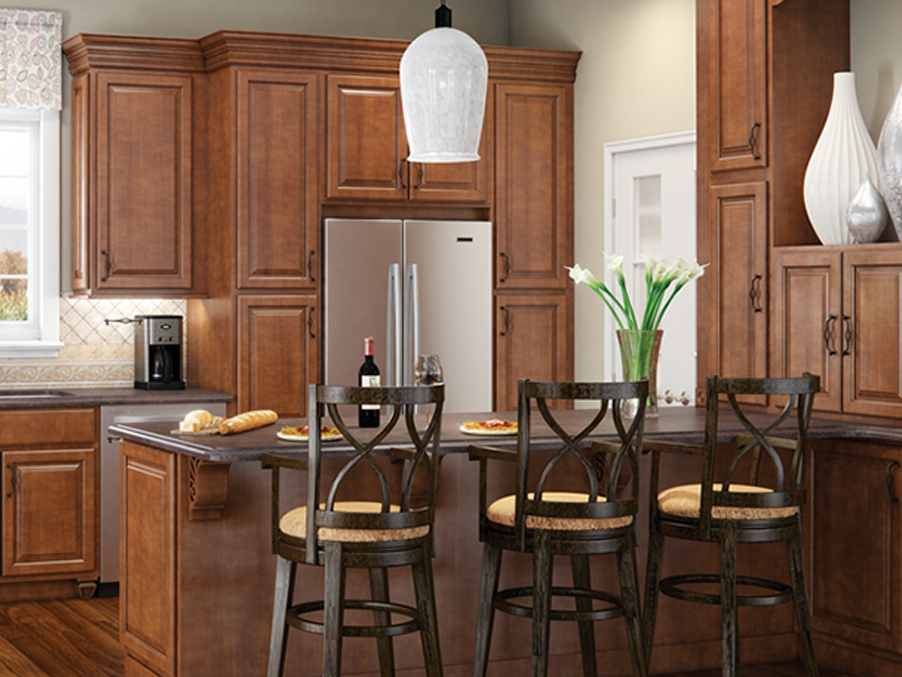
This is what you’ve been waiting for since you first pulled together that inspiration board. Watch your new dream start to come to life, as cabinets, countertops, and new appliances are all installed.
Estimate: 3-5 days
Hello, new cabinets.
This is the biggest part of your project. Your new, beautifully crafted cabinets will be carefully installed.
Estimate: 2-4 weeks
It’s all on the surface.
Once the cabinets are in, it’s time for measuring, fabricating, and placing your new countertops.
Estimate: 1-5 days
Bright and shiny and new.
Your lighting and appliances are next. The pre-ordering and measuring you did earlier makes this step a breeze.
Estimate: 1-2 weeks
Time for your kitchen’s bling.
Accessorizing means you’re almost done. Add any hardware, and touch up any paint needs.
Estimate: 2-3 days
From front to backsplash.
The intricacy of your backsplash will determine how long this penultimate step takes, but you can see the finish line.
Estimate: 1-2 days
Time to tidy.
Clean all the dust and dirt up, so the space is safe and ready for you and your family and friends to enjoy.
Phase 5
Revel in it
Your room is done. Congratulations! Time to sit back and congratulate yourself on turning your dream into a reality.
The best way to decide is in-person.
Work with a local Waypoint dealer to choose specialty doors and options that best suit your dream project.
The ultimate checklist.
We’ve written it all down, so you can start crossing things off. That’s always the best part, isn’t it?